
centos7搭建lnmp开发环境
一、安装axel
1. 在shell中运行 yum install axel进行安装
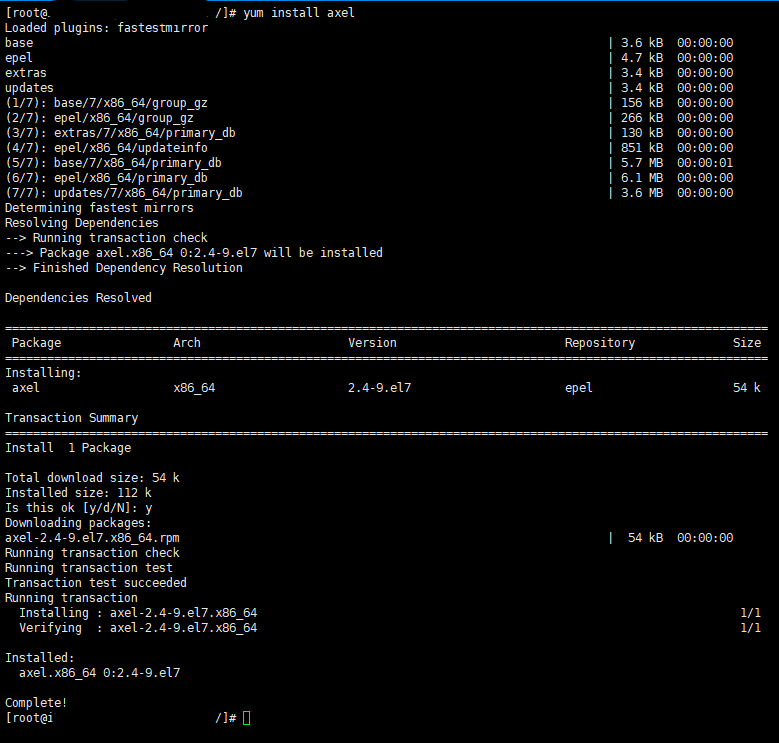
用yum安装如果没有的话需要安装EPEL源(Extra Packages for Enterprise Linux),为“红帽系”的操作系统提供额外的软件包,适用于RHEL、CentOS等,里面有1万多个软件
安装 epel-release
wget https://mirrors.ustc.edu.cn/epel//7/x86\_64/Packages/e/epel-release-7-11.noarch.rpm
rpm -ivh epel-release-7-11.noarch.rpm
##更新yum源
yum clean all
yum update
2. 安装后可以用axel --version查看版本。检测是否安装成功。

二、安装nginx
1. 安装依赖包
nginx依赖ssl,rewrite,gzip 3个包,如果没有c++编译环境需要用下面命令安装。yum install gcc-c++
2. 建立目录
先在home目录下建一个nginx文件夹。然后进入文件。(nginx、openssl、zlib、pcre直接下载到这个文件夹,解压也是解压到这个文件夹,都安装好后直接删除即可。)
cd home
mkdir nginx
cd nginx
3. openssl库安装
ssl功能需要安装openssl库 ,官网:https://www.openssl.org。建立文件夹/alidata/library/做为这3个库的安装目录。统一放一个文件夹,日后如果想卸载,直接删除就可以。在library下面再建立openssl、zlib、pcre三个文件夹。做为那3个库的安装目录。
参考:https://blacksaildivision.com/how-to-install-openssl-on-centos
wget https://www.openssl.org/source/openssl-1.1.1a.tar.gz
yum install libtool perl-core zlib-devel -y  #安装响应的组件
tar -zxvf openssl-1.1.1a.tar.gz
cd openssl-1.1.1a
./config --prefix=/usr/local/openssl --openssldir=/usr/local/openssl shared zlib
make && make install

vi /etc/profile.d/openssl.sh
# /etc/profile.d/openssl.sh
pathmunge /usr/local/openssl/bin

vi /etc/ld.so.conf.d/openssl-1.1.0g.conf
# /etc/ld.so/conf.d/openssl-1.1.0g.conf
/usr/local/openssl/lib
#执行命令使openssl新版本lib路径生效
ldconfig -v
#重开shell
4. 安装zlib库
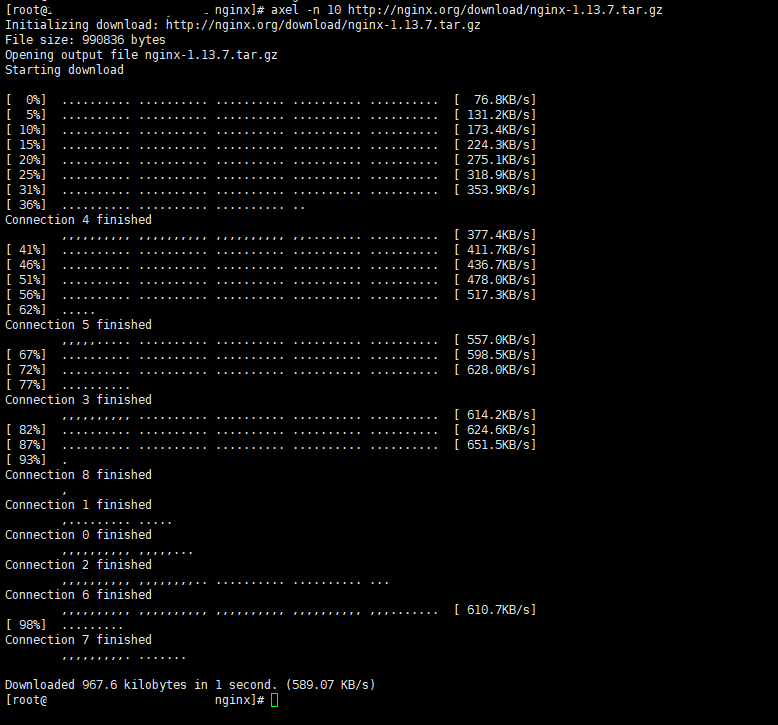
gzip模块需要安装zlib库,官网:http://www.zlib.net。(axel -n 后面的10是一次性建立10个连接下载)
axel -n 10 http://www.zlib.net/zlib-1.2.11.tar.gz
tar -zxvf zlib-1.2.11.tar.gz
cd zlib-1.2.11
./configure --prefix=/alidata/library/zlib && make && make install
5. 安装pcre库
rewrite模块需要pcre库,官网:http://www.pcre.org。
axel -n 10 https://ftp.pcre.org/pub/pcre/pcre-8.41.tar.gz
tar -zxvf pcre-8.41.tar.gz
cd pcre-8.41
./configure --prefix=/alidata/library/pcre && make && make install
6. nginx的编译安装
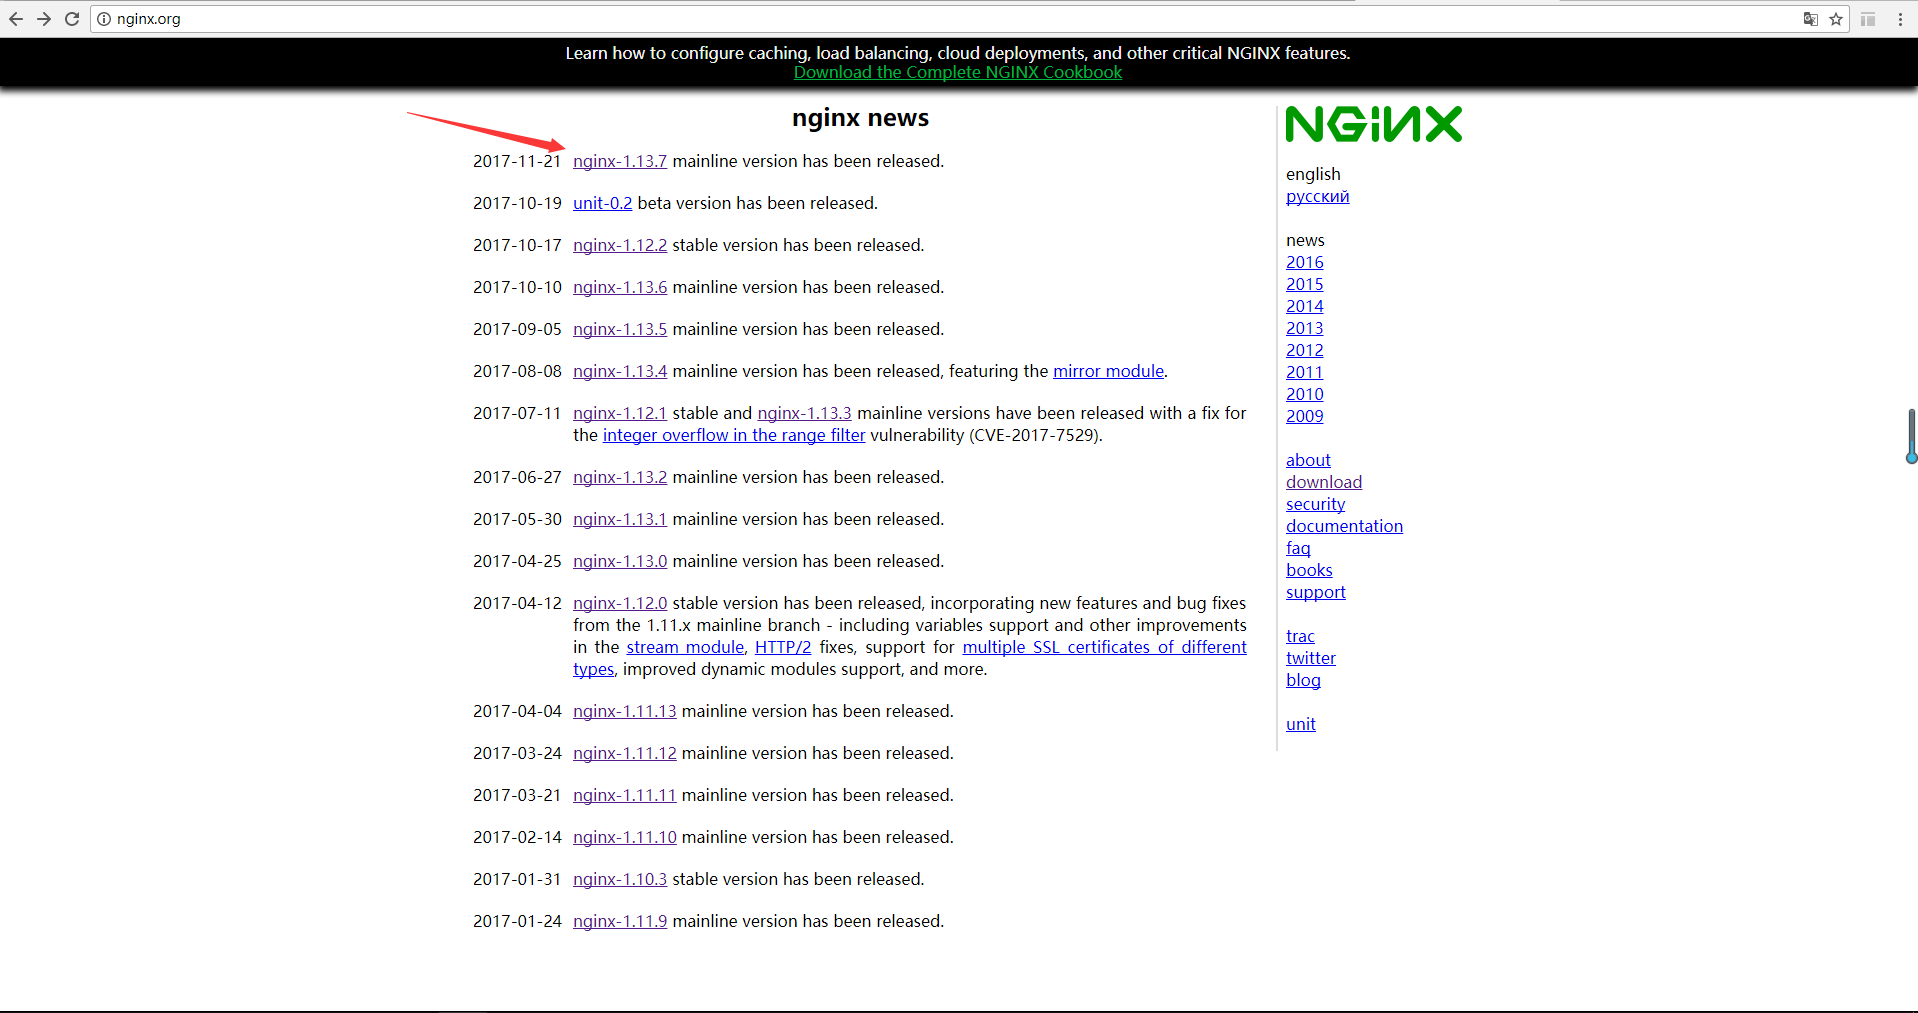
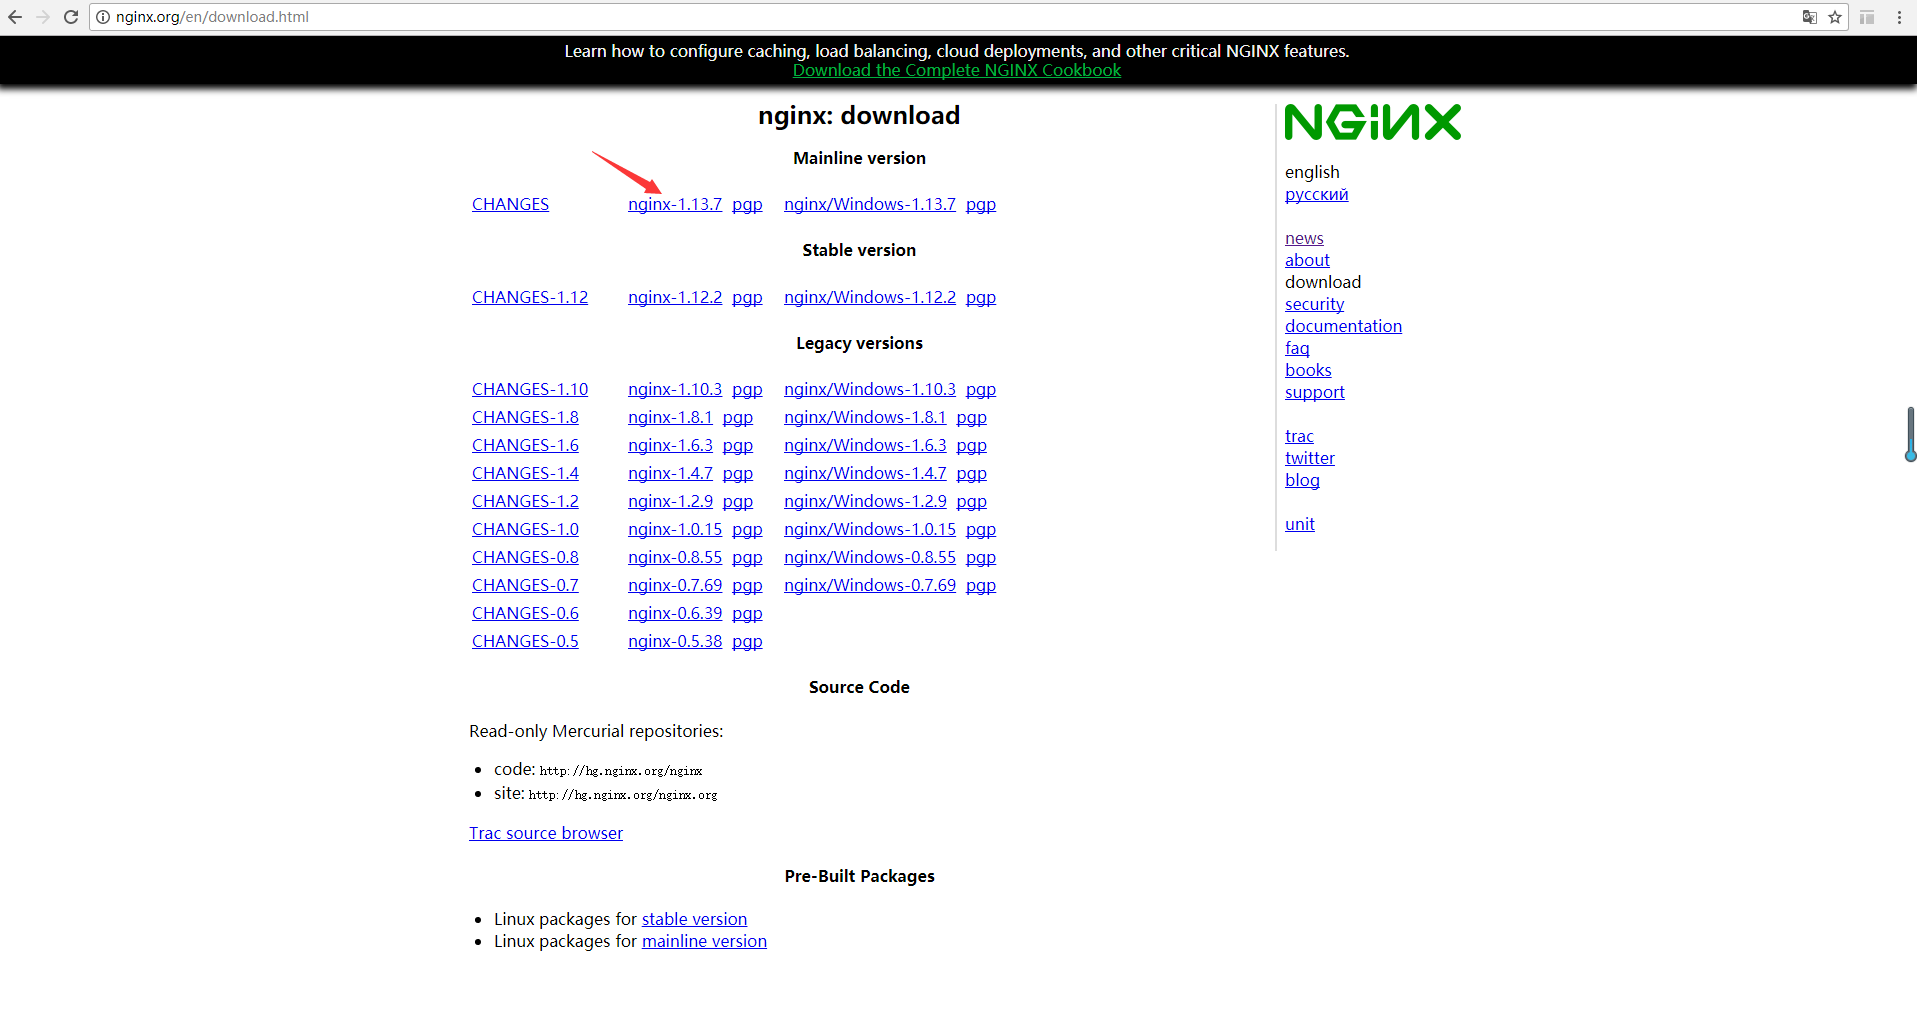
下载nginx,nginx的官网是http://nginx.org/。我们直接下载最新版本的nginx-1.14.2。在/alidata下建立server,然后在server下面分别建立nginx、mysql、php。后面会分别把对应的软件安装到这几个文件夹里。(--prefix:nginx的安装目录 ,--with-pcre:pcre的源码目录,--with-zlib和--with-openssl同理)
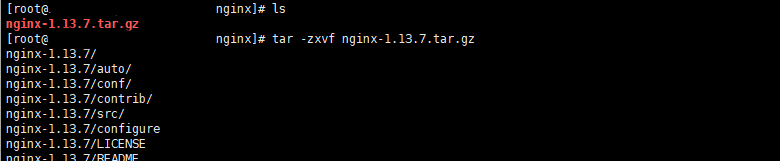
axel -n 10 http://nginx.org/download/nginx-1.14.2.tar.gz
tar -zxvf nginx-1.14.2.tar.gz
cd nginx-1.14.2
./configure \
--prefix=/alidata/server/nginx \
--with-http_realip_module \
--with-http_sub_module \
--with-http_flv_module \
--with-http_dav_module \
--with-http_gzip_static_module \
--with-http_stub_status_module \
--with-http_addition_module \
--with-pcre=/home/nginx/pcre-8.41 \
--with-openssl=/home/nginx/openssl-1.1.1a \
--with-openssl-opt='enable-tls1_3 enable-weak-ssl-ciphers' \
--with-http_ssl_module \
--with-http_v2_module \
--with-zlib=/home/nginx/zlib-1.2.11 && make && make install

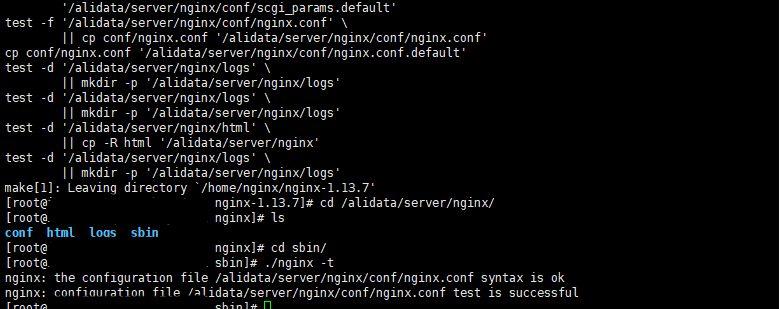
7. 检查nginx是否安装成功
检查nginx是否安装成功,如果出现下图信息,表示安装成功。
cd /alidata/server/nginx/sbin
./nginx -t

8. 常用命令
nginx的几个常用命令:
查看Nginx的版本号:./nginx -v
启动Nginx:./nginx
快速停止或关闭Nginx:./nginx -s stop
正常停止或关闭Nginx:./nginx -s quit
配置文件修改重装载命令:./nginx -s reload
9. 将nginx加入系统命令
vi /etc/init.d/nginx
加入下面代码
#!/bin/bash
#nginx Startup script for the Nginx HTTP Server
# it is v.0.0.2 version.
# chkconfig: - 85 15
# description: Nginx is a high-performance web and proxy server.
#              It has a lot of features, but it's not for everyone.
# processname: nginx
# pidfile: /var/run/nginx.pid
# config: /usr/local/nginx/conf/nginx.conf
nginxd=/alidata/server/nginx/sbin/nginx
nginx_config=/alidata/server/nginx/conf/nginx.conf
nginx_pid=/alidata/server/nginx/run/nginx.pid
RETVAL=0
prog="nginx"
# Source function library.
. /etc/rc.d/init.d/functions
# Source networking configuration.
. /etc/sysconfig/network
# Check that networking is up.
[ [${NETWORKING} = "no"] ] && exit 0
[ -x $nginxd ] || exit 0
# Start nginx daemons functions.
start() {
if [ -e $nginx_pid ];then
   echo "nginx already running...."
   exit 1
fi
   echo -n $"Starting $prog: "
   daemon $nginxd -c ${nginx_config}
   RETVAL=$?
   echo
   [ $RETVAL = 0 ] && touch /var/lock/subsys/nginx
   return $RETVAL
}
# Stop nginx daemons functions.
stop() {
        echo -n $"Stopping $prog: "
        killproc $nginxd
        RETVAL=$?
        echo
        [ $RETVAL = 0 ] && rm -f /var/lock/subsys/nginx /alidata/server/nginx/run/nginx.pid
}
# reload nginx service functions.
reload() {
    echo -n $"Reloading $prog: "
    #kill -HUP `cat ${nginx_pid}`
    killproc $nginxd -HUP
    RETVAL=$?
    echo
}
# See how we were called.
case "$1" in
start)
        start
        ;;
stop)
        stop
        ;;
reload)
        reload
        ;;
restart)
        stop
        start
        ;;
status)
        status $prog
        RETVAL=$?
        ;;
*)
        echo $"Usage: $prog {start|stop|restart|reload|status|help}"
        exit 1
esac
exit $RETVAL
保存上面的代码。然后添加到系统服务中。
chmod 755 /etc/init.d/nginx
chkconfig --add nginx
10. 在系统服务目录中创建nginx.service文件
vi /lib/systemd/system/nginx.service
加入下面的代码
[Unit]
Description=nginx
After=network.target

[Service]
Type=forking
ExecStart=/alidata/server/nginx/sbin/nginx
ExecReload=/alidata/server/nginx/sbin/nginx -s reload
ExecStop=/alidata/server/nginx/sbin/nginx -s quit
PrivateTmp=true

[Install]
WantedBy=multi-user.target
保存。再执行重加载systemctl daemon-reload
设置开机启动systemctl enable nginx.service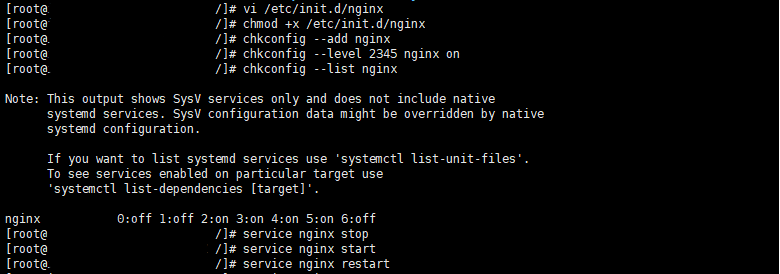
10. nginx服务命令
配置好之后nginx就可以用系统服务的方式操作了。
service nginx start 启动nginx
service nginx stop 关闭nginx
service nginx restart 重启nginx
service nginx reload 重新加载nginx


三、安装php
1. 下载php安装包
新建一个文件夹/home/php文件夹存放php的安装文件。
php的官网:http://www.php.net/
下载php的最新版本php-7.3.1axel -n 10 http://cn2.php.net/distributions/php-7.3.1.tar.gz
2. 解压压缩包
tar -zxvf php-7.3.1.tar.gz
cd php-7.3.1
3. 安装依赖库
先安装php需要的依赖库(直接复制进去一次性安装好)
yum -y install libxml2
yum -y install libxml2-devel
yum -y install openssl
yum -y install openssl-devel
yum -y install curl-devel
yum -y install libjpeg-devel
yum -y install libpng-devel
yum -y install freetype-devel
yum -y install bzip2-devel
yum -y install libmcrypt libmcrypt-devel
yum -y install postgresql-devel
yum -y install aspell-devel
yum -y install readline-devel
yum -y install libxslt-devel
yum -y install net-snmp-devel
yum -y install unixODBC-devel
yum -y install libicu-devel
yum -y install libc-client-devel
yum -y install libXpm-devel
yum -y install libvpx-devel
yum -y install enchant-devel
yum -y install openldap
yum -y install openldap-devel
yum -y install db4-devel
yum -y install gmp-devel
yum -y install sqlite-devel
yum -y install mysql-devel
如果cmake版本低于3.0.2需要升级
wget https://cmake.org/files/v3.13/cmake-3.13.0.tar.gz
tar -zxvf cmake-3.13.0.tar.gz
cd cmake-3.13.0
./bootstrap --prefix=/usr/
make && make install
cmake --version
libzip安装
wget https://libzip.org/download/libzip-1.5.1.tar.gz
tar -zxvf libzip-1.5.1.tar.gz
cd libzip-1.5.1
mkdir build && cd build && cmake .. && make && make install

echo '/usr/local/lib64
/usr/local/lib
/usr/lib
/usr/lib64'>>/etc/ld.so.conf&&ldconfig -v
4. 添加用户和组
groupadd -r www && adduser -r -g www -s /bin/false -d /alidata/www -M www
查看用户cat /etc/passwd
查看组cat /etc/group
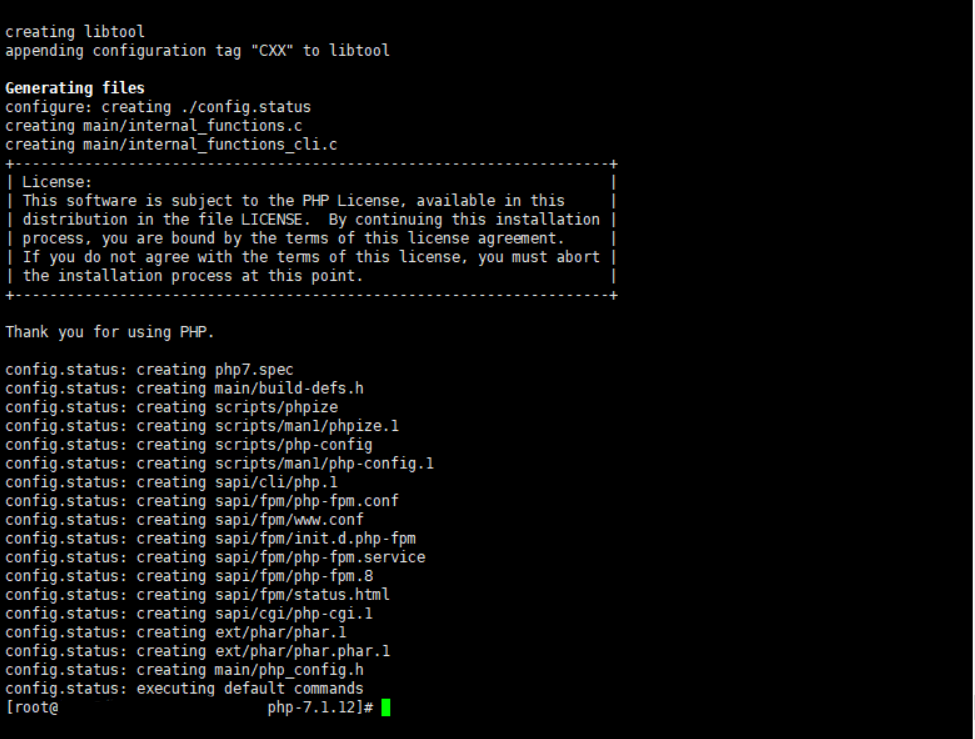
5. 对php7进行配置
下面代码按需求修改后全部复制进去一次性执行(php7.3去掉 --with-mcrypt, --enable-gd-native-ttf, --with-libmbfl
)
./configure \
--prefix=/alidata/server/php \
--with-config-file-path=/alidata/server/php/etc \
--enable-fpm \
--with-fpm-user=www \
--with-fpm-group=www \
--enable-inline-optimization \
--disable-debug \
--disable-rpath \
--enable-shared \
--enable-soap \
--with-xmlrpc \
--with-openssl \
--with-pcre-regex \
--with-sqlite3 \
--with-zlib \
--enable-bcmath \
--with-iconv \
--with-bz2 \
--enable-calendar \
--with-curl \
--with-cdb \
--enable-dom \
--enable-exif \
--enable-fileinfo \
--enable-filter \
--with-pcre-dir \
--enable-ftp \
--with-gd \
--with-openssl-dir \
--with-jpeg-dir \
--with-png-dir \
--with-freetype-dir \
--with-gettext \
--with-gmp \
--with-mhash \
--enable-json \
--enable-mbstring \
--enable-mbregex \
--enable-mbregex-backtrack \
--with-onig \
--enable-pdo \
--with-mysqli=mysqlnd \
--with-pdo-mysql=mysqlnd \
--with-zlib-dir \
--with-pdo-sqlite \
--with-readline \
--enable-session \
--enable-shmop \
--enable-simplexml \
--enable-sockets \
--enable-sysvmsg \
--enable-sysvsem \
--enable-sysvshm \
--enable-wddx \
--with-libxml-dir \
--with-xsl \
--enable-zip \
--enable-mysqlnd-compression-support \
--with-pear \
--enable-opcache \
--enable-pcntl \
--enable-posix
6. 编译安装php7
make && make install
看到下图信息说明安装成功 (如果重新编译需要先make clean清理之前的已经编译的可执行文件)
7. 查看php版本
/alidata/server/php/bin/php -v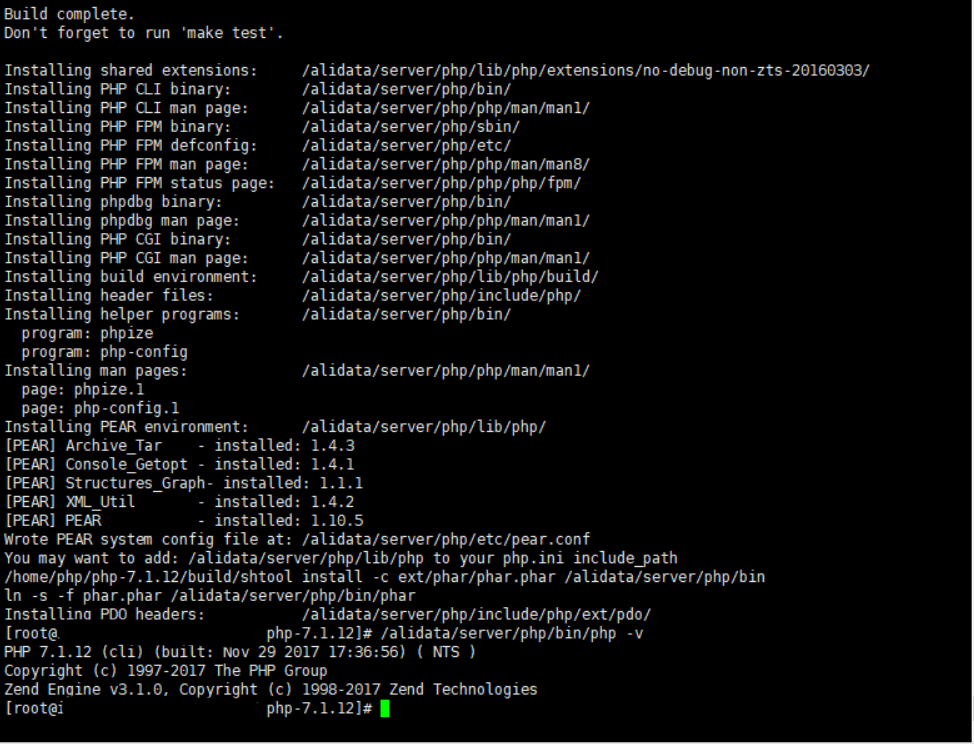
8. 创建配置文件
创建www.conf配置文件
cd /alidata/server/php/etc/php-fpm.d
cp www.conf.default www.conf
创建php-fpm.conf配置文件
cd /alidata/server/php/etc
cp php-fpm.conf.default php-fpm.conf
创建php.ini配置文件
将安装源文件目录里的php.ini-production或者php.ini-development修改后缀拷贝到php安装目录的etc文件夹内
cd /home/php/php-7.3.1
cp php.ini-production /alidata/server/php/etc/php.ini
9. 将bin和sbin路径加入到path变量中。
配置环境变量vim /etc/profile
加入下面内容
PATH=/user/local/cmake/bin:$PATH
PATH=/alidata/server/mysql/bin:$PATH
PATH=/alidata/server/php/bin:$PATH
export PATH
保存后执行source命令使配置立即生效source /etc/profile
10. 配置php-fpm到系统服务
cp /home/php/php-7.3.1/sapi/fpm/init.d.php-fpm /etc/init.d/php-fpm
chmod 755 /etc/init.d/php-fpm
配置php-fpm.confvim /alidata/server/php/etc/php-fpm.conf
将pid(;pid = run/php-fpm.pid)前的;去掉。
12. 配置开机自动启动
chkconfig --add /etc/init.d/php-fpm
chkconfig php-fpm on
13. 配置nginx解析php文件
cd /alidata/server/nginx/conf
vim nginx.conf
将php解析前的#都去掉,如下图。然后保存修改。
 location ~ .*\.(php|php5)?$ {
       fastcgi_pass   127.0.0.1:9000;
       fastcgi_index  index.php;
       include        fastcgi.conf;
}nginx重新加载配置文件service nginx reload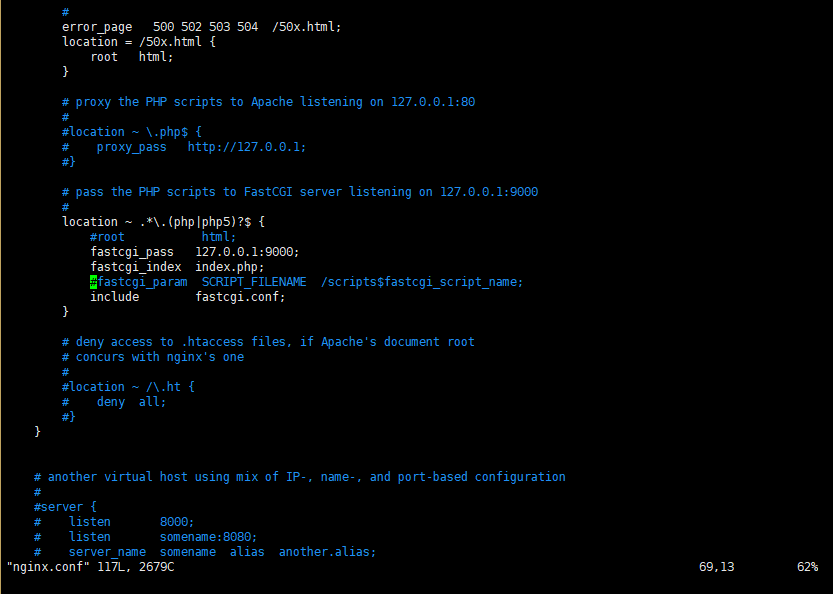
14. 创建一个php文件
如果设置了根目录,在根目录里面新建vi /alidata/server/nginx/html/phpinfo.php
输入如下代码<?php phpinfo(); ?>
保存
配置没问题就会看到下面的页面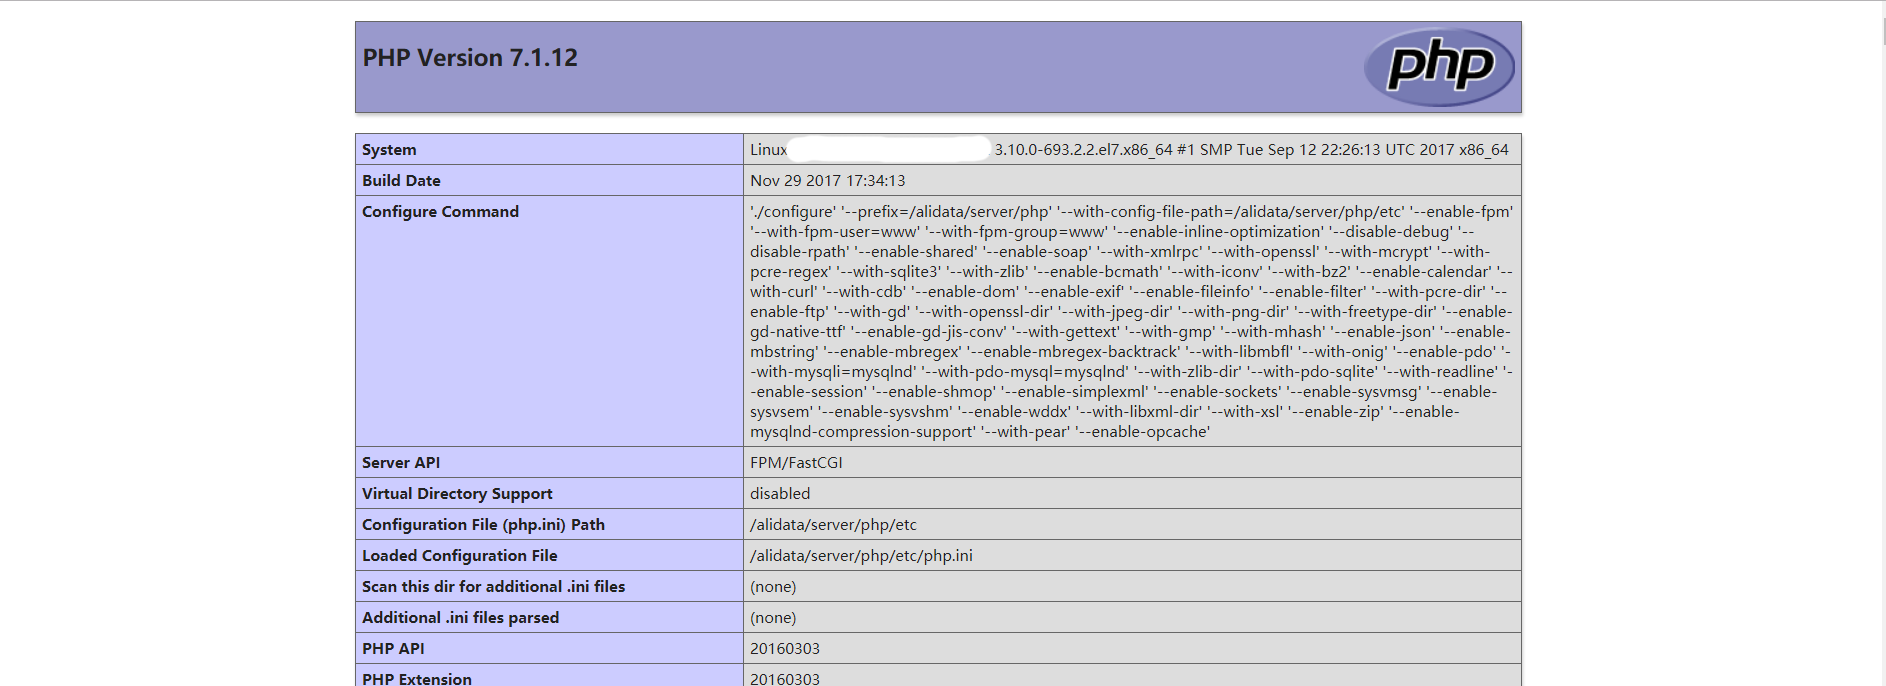
四、安装mysq
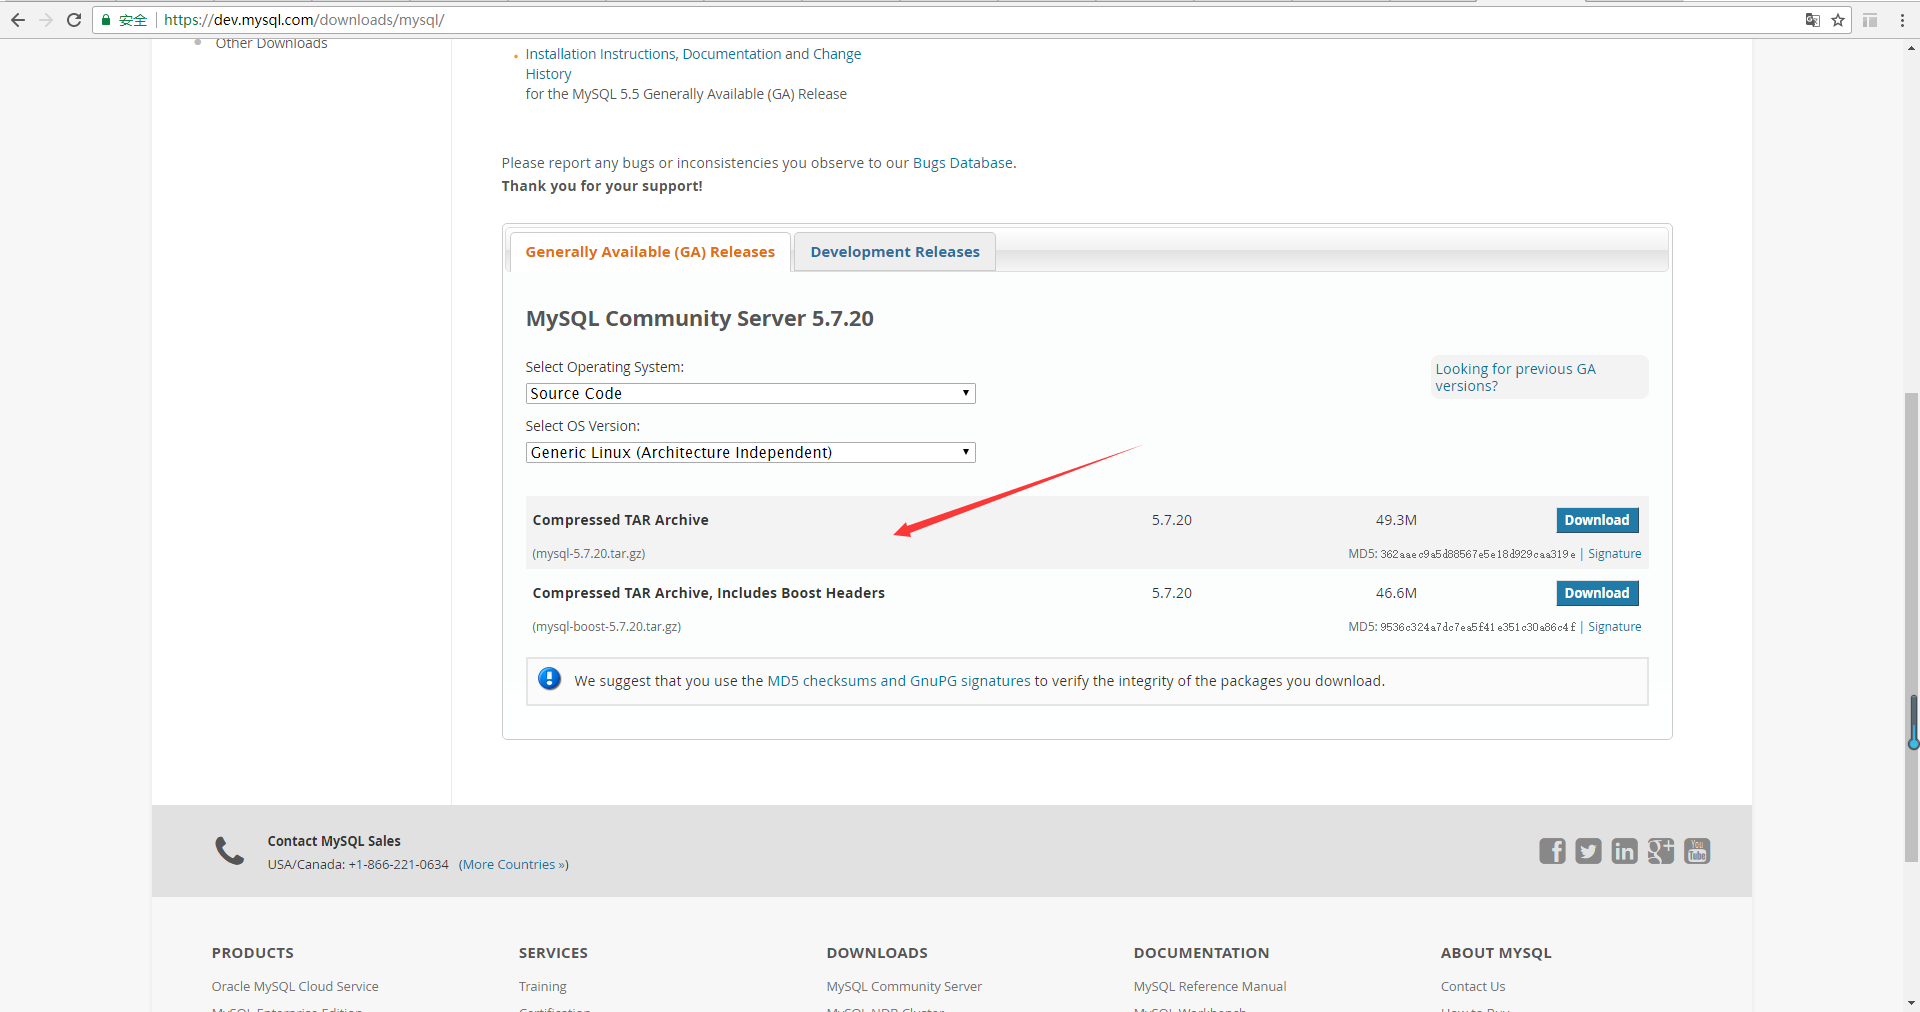
1. 下载mysql
下载mysql,官网地址:https://www.mysql.com/axel -n 10 https://cdn.mysql.com//Downloads/MySQL-8.0/mysql-8.0.13.tar.gz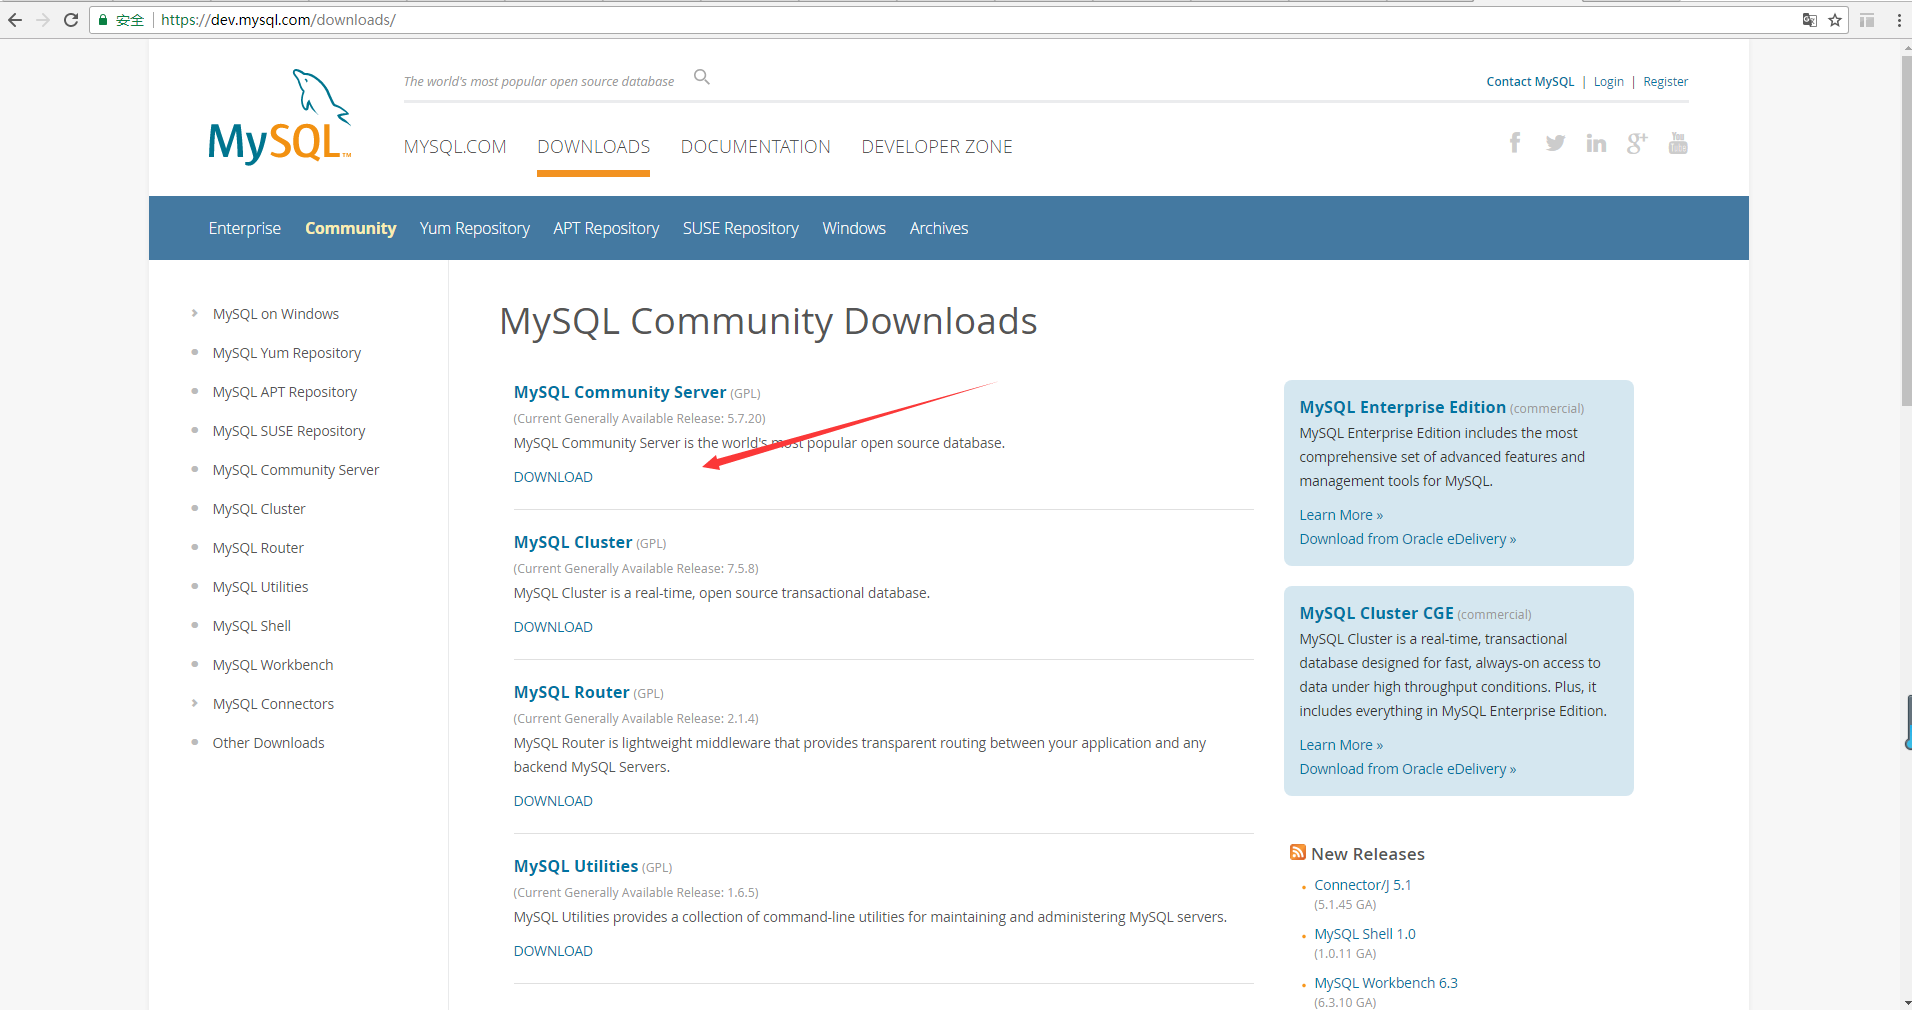
yum localinstall https://repo.mysql.com//mysql80-community-release-el7-2.noarch.rpm
yum -c /etc/yum.conf --installroot=/alidata/server/mysql -y install mysql-community-server
2. 解压压缩包
tar -zxvf mysql-8.0.13.tar.gz
3. 安装编译需要的软件包
yum -y install make bison-devel ncurses-devel libaio libaio-devel perl-Data-Dumper net-tools
4. 编译配置
重新cmake需要删除CMakeCache.txt文件
cd mysql-8.0.13

    cmake . \
    -DCMAKE_INSTALL_PREFIX=/alidata/server/mysql \
    -DMYSQL_DATADIR=/alidata/server/mysql/data \
    -DSYSCONFDIR=/etc \
    -DWITH_MYISAM_STORAGE_ENGINE=1 \
    -DWITH_INNOBASE_STORAGE_ENGINE=1 \
    -DWITH_MEMORY_STORAGE_ENGINE=1 \
    -DWITH_READLINE=1 \
    -DMYSQL_UNIX_ADDR=/var/lib/mysql/mysql.sock \
    -DMYSQL_TCP_PORT=3306 \
    -DENABLED_LOCAL_INFILE=1 \
    -DWITH_PARTITION_STORAGE_ENGINE=1 \
    -DEXTRA_CHARSETS=all \
    -DDEFAULT_CHARSET=utf8 \
    -DDEFAULT_COLLATION=utf8_general_ci \
    -DDOWNLOAD_BOOST=1 \
    -DWITH_BOOST=/alidata/server/boost
(注:如果boost已经安装过在配置里面去掉-DDOWNLOAD_BOOST=1,这个配置是用来下载boost。另外配置boost的安装目录 -DWITH_BOOST。其他的按需要配置即可。)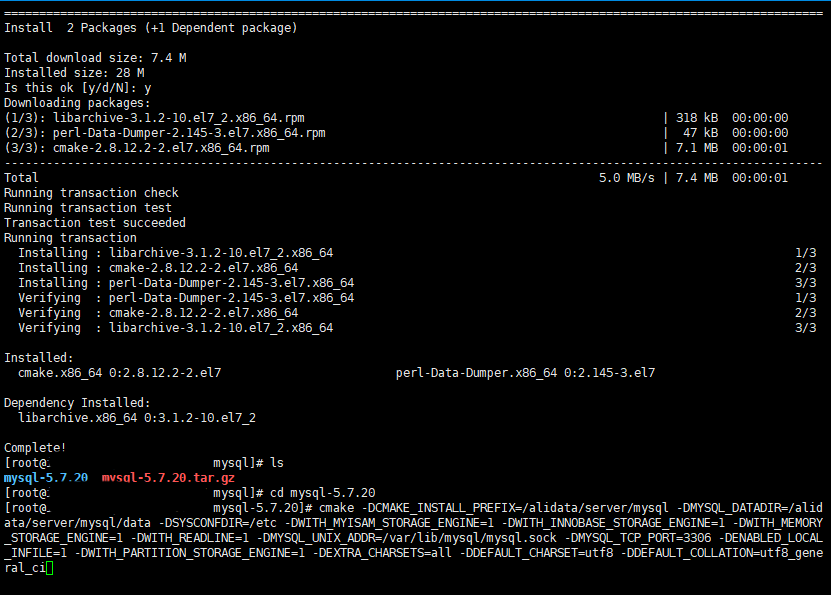
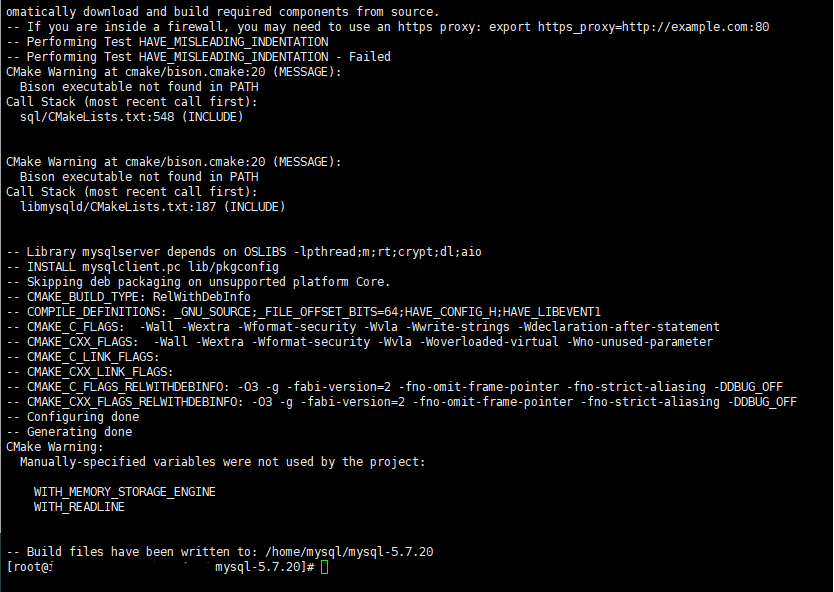
5. 编译安装
make && make install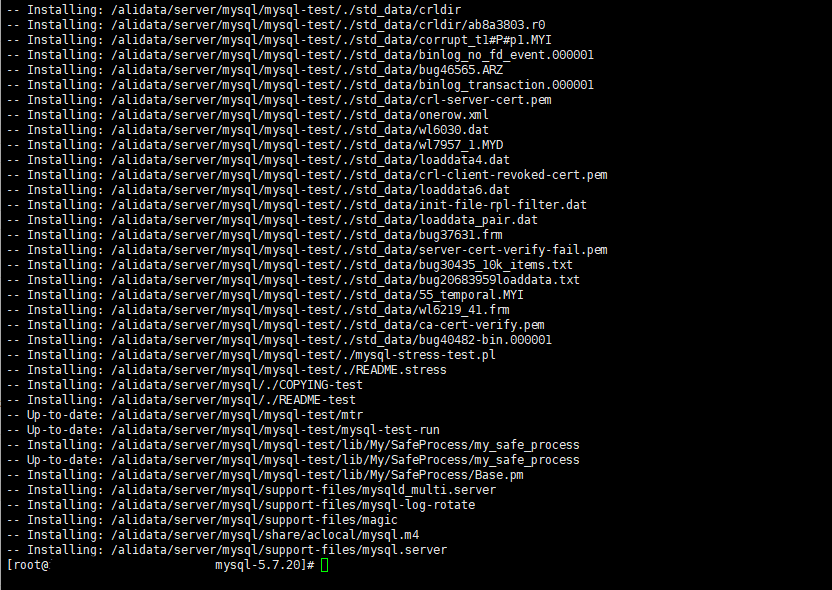
6. 创建mysql用户和组
groupadd -r mysql && adduser -r -g mysql -s /bin/false -M mysql
7. 修改mysql的权限
chown -R mysql:mysql /alidata/server/mysql
8. 数据库初始化
cd /alidata/server/mysql/bin
./mysqld --initialize --basedir=/alidata/server/mysql --datadir=/alidata/server/mysql/data --user=mysql

9. 加入到系统服务
cp /alidata/server/mysql/support-files/mysql.server /etc/init.d/mysql
chmod 755 /etc/init.d/mysql
chkconfig --add mysql
10. 配置my.cnf
vim /etc/my.cnf
修改对应的配置
[mysqld]
datadir=/alidata/server/mysql/data
socket=/var/lib/mysql/mysql.sock
# Disabling symbolic-links is recommended to prevent assorted security risks
symbolic-links=0
# Settings user and group are ignored when systemd is used.
# If you need to run mysqld under a different user or group,
# customize your systemd unit file for mariadb according to the
# instructions in http://fedoraproject.org/wiki/Systemd
[mysqld_safe]
log-error=/alidata/server/mysql/log/mariadb.log
pid-file=/alidata/server/mysql/log/run/mariadb.pid
#
# include all files from the config directory
#
!includedir /etc/my.cnf.d
保存文件后建立mysql.sock的存放目录,并分配给mysql用户和组
mkdir /var/lib/mysql
chown -R mysql:mysql /var/lib/mysql
创建日志文件mariadb.log
touch /alidata/server/mysql/log/mariadb.log
cd /alidata/server/mysql/log
chown -R mysql:mysql mariadb.log
11. 启动mysql
service mysql start
如果启动有问题可以查看mariadb.log日志里面的[ERROR]部分。
12. 修改初始密码,mysql登录
查看mysql的初始密码
???
用初始密码登录mysql
???
cd /alidata/server/mysql/bin
./mysql -uroot -p
登录后修改密码
alter user user() identified by "你的新密码";
修改用户的MySQL的密码认证插件是“mysql_native_password”
alter user 'root'@'localhost' identified with mysql_native_password by '密码';
flush privileges;
查询用户的密码插件信息
use mysql
select plugin,authentication_string,host,user from user;
允许远程访问
my.cnf添加下面参数重启数据库
default_authentication_plugin=mysql_native_password
创建用户
create user 'root'@'%' identified by 'mysql的密码';
grant all on *.* to 'root'@'%';
flush privileges;
13. 配置环境变量
vim /etc/profile
加入下面内容export PATH=$JAVA_HOME/bin:$PATH:/alidata/server/php/bin:/alidata/server/php/sbin:/alidata/server/mysql/bin
保存后执行source命令使配置立即生效source /etc/profile
到这为止,lnmp的环境就配置完成了。
五、安装redis
下载redis
axel -n 10 http://download.redis.io/releases/redis-5.0.3.tar.gz
tar -zxvf redis-5.0.3.tar.gz
cd redis-5.0.3
安装redis
make PREFIX=/alidata/server/redis/ install
配置redis
新建数据目录和日志目录
mkdir /alidata/server/redis/data
mkdir /alidata/server/redis/log

cp ./redis.conf /alidata/server/redis/
vim /alidata/server/redis/redis.conf
编辑内容
# IP绑定
bind 127.0.0.1 192.168.0.111
# 保护模式(开启条件为各redis之间可以互相通信,做集群不可开启)
protected-mode yes
# 访问端口
port 6379
# 连接超时,单位S,0为不启用超时
timeout 0
# 以守护进程运行
daemonize yes
# 数据文件路径
dir /alidata/server/redis/data
# 进程ID文件的路径
pidfile /alidata/server/redis/log/redis.pid
# 日志文件路径
logfile /alidata/server/redis/log/redis.log
# 设置登陆密码
requirepass [redis的密码]
# 禁用部分危险命令
rename-command FLUSHALL ""
rename-command CONFIG   ""
rename-command EVAL     ""
# 开启键过期删除通知
notify-keyspace-events Ex
性能优化
# 编辑/etc/rc.local
vim /etc/rc.local
echo never > /sys/kernel/mm/transparent_hugepage/enabled

# 添加/etc/rc.local执行权限
chmod +x /etc/rc.d/rc.local

# 编辑/etc/sysctl.conf
vim /etc/sysctl.conf
vm.overcommit_memory = 1
net.core.somaxconn = 1024

# 立即解决
echo never > /sys/kernel/mm/transparent_hugepage/enabled
echo 1024 > /proc/sys/net/core/somaxconn
sysctl vm.overcommit_memory=1
sysctl -p
修改目录归属
useradd -s /sbin/nologin -M redis
chown -R redis:redis /alidata/server/redis
启动redis并设置开机启动
# 进入单元文件目录
cd /etc/systemd/system

# 创建redis单元文件,格式为: [单元文件名].[单元文件类型]
vim redis.service

[Unit]
Description=Start redis on boot.
After=default.target network.target

[Service]
User=redis
Group=redis
Type=forking
PIDFile=/alidata/server/redis/log/redis.pid
ExecStart=/alidata/server/redis/bin/redis-server /alidata/server/redis/redis.conf
ExecReload=/bin/kill -s HUP $MAINPID
ExecStop=/bin/kill -s QUIT $MAINPID
PrivateTmp=false
#Restart=always

[Install]
WantedBy=multi-user.target

# 修改文件权限为只有root用户可以编辑该文件
chown -R root:root /etc/systemd/system/redis.service
chmod -R 644 /etc/systemd/system/redis.service

# 更新systemd
systemctl daemon-reload
systemctl enable redis
systemctl start redis
redis加入系统服务
cp /home/redis/redis-5.0.3/utils/redis_init_script /etc/init.d/redis

# 编辑/etc/init.d/redis 直接用systemctl控制开启和关闭redis
# start 部分修改
    #$EXEC $CONF
    systemctl start redis

# stop 部分修改
    #PID=$(cat $PIDFILE)
    echo "Stopping ..."
    #$CLIEXEC -p $REDISPORT shutdown
    #while [ -x /proc/${PID} ]
    #do
       # echo "Waiting for Redis to shutdown ..."
       # sleep 1
    #done
    systemctl stop redis
#如果没有设置开机启动 执行chkconfig redis on
配置环境变量
vim /etc/profile
PATH=/alidata/server/redis/bin:$PATH
# 使配置生效
source /etc/profile
六、php安装redis扩展
安装igbinary和phpredis扩展
如果phpize动态编译报错Cannot find autoconf
 yum install m4
 yum install autoconf
	wget http://pecl.php.net/get/igbinary-2.0.7.tgz
    tar -zxvf igbinary-2.0.7.tgz
    cd igbinary-2.0.7
    phpize
    ./configure
    make && make install

	wget https://github.com/nicolasff/phpredis/archive/4.0.2.tar.gz
    tar -zxvf 4.0.2.tar.gz
    cd 4.0.2
    #用phpize生成configure配置文件
    phpize
    ./configure --with-php-config=/alidata/server/php/bin/php-config
    make && make install
配置php.ini
在php.ini最后一行加上

extension_dir = '/【php安装路径】/lib/php/extensions/no-debug-non-zts-20160303/'
extension=igbinary.so
extension=redis.so

重启php-fpm和Nginx,完成。
七、php扩展trie-filter
安装libiconv
这个是libdatrie的依赖项
wget http://ftp.gnu.org/pub/gnu/libiconv/libiconv-1.15.tar.gz
tar zxvf libiconv-1.15.tar.gz
cd libiconv-1.15
./configure
make
make install

//查看版本
iconv --version
如果报 iconv: error while loading shared libraries: libiconv.so.2
ldconfig
安装libdatrie
最新版本下载站点
https://github.com/tlwg/libdatrie/releases
wget https://github.com/tlwg/libdatrie/releases/download/v0.2.12/libdatrie-0.2.12.tar.xz
tar xvJf libdatrie-0.2.12.tar.xz
cd libdatrie-0.2.12
./configure --prefix=/usr/local/libdatrie LDFLAGS=-L/usr/local/lib LIBS=-liconv
make
make install
安装trie-filter扩展
git clone https://github.com/zzjin/php-ext-trie-filter
cd php-ext-trie-filter
phpize
./configure --with-php-config=/alidata/server/php/bin/php-config --with-trie_filter=/usr/local/libdatrie
make
make install
在php.ini文件最后加上extension=trie_filter.so,保存配置并重启php
八、php开启opcache
1. 配置php.ini文件
在php的安装目录配置php.ini文件
添加opcache扩展
extension_dir = '/alidata/server/php/lib/php/extensions/no-debug-non-zts-20160303/'
zend_extension=opcache.so
配置opcache
[opcache]
1. 开关打开
   opcache.enable=1
2. 开启CLI
    opcache.enable_cli=1
3. 可用内存, 酌情而定, 单位为:Mb
    opcache.memory_consumption=528
4. Zend Optimizer + 暂存池中字符串的占内存总量.(单位:MB)
    opcache.interned_strings_buffer=8
5. 对多缓存文件限制, 命中率不到 100% 的话, 可以试着提高这个值
    opcache.max_accelerated_files=10000
6. Opcache 会在一定时间内去检查文件的修改时间, 这里设置检查的时间周期, 默认为 2, 定位为秒
    注意:0是一直检查不是关闭,推荐 60
    opcache.revalidate_freq=60
7. 打开快速关闭, 打开这个在PHP Request Shutdown的时候回收内存的速度会提高
    opcache.fast_shutdown=1
评论